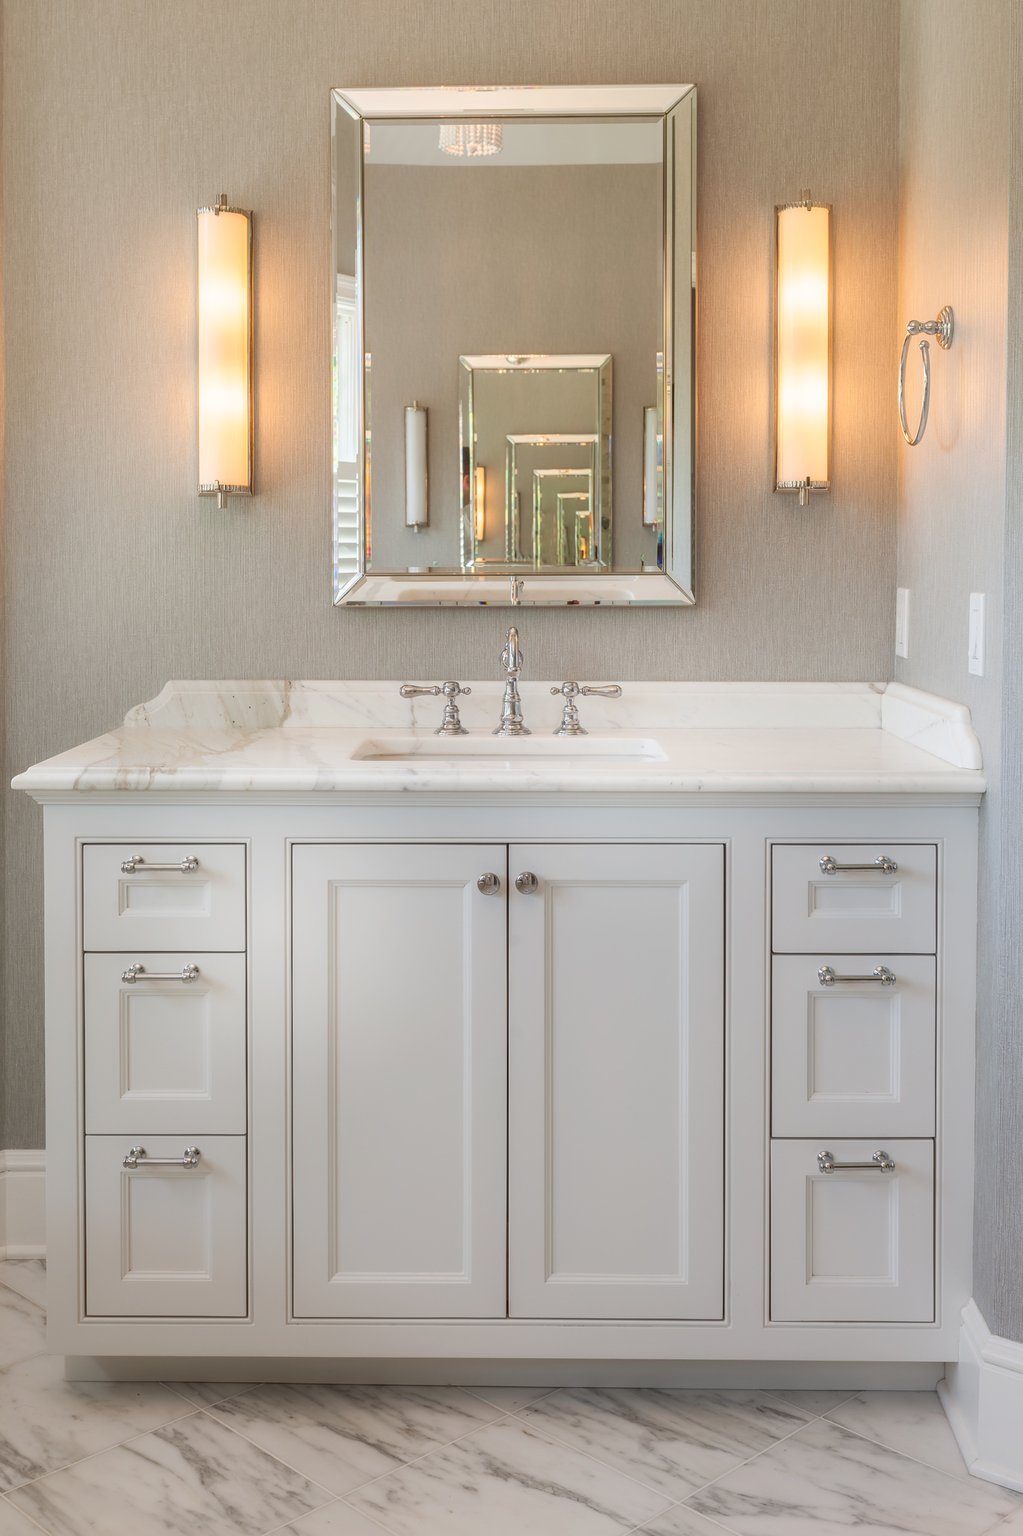
When you’re hanging a large, heavy mirror, you don’t want to use regular nails. They will leave unattractive holes and dents in your wall and ruin its quality.
Fortunately, there are other ways of attaching things to walls that won’t leave holes and dents to your walls. With the right resources, you can go mirror-mounting right the first time.
For everything you need to know about how to hang a mirror without nails, keep reading.
Contents
Choose the Right Mirror
To ensure that your mirror is hung securely and safely, it’s important to start by choosing the right mirror. You need to consider the size of the wall you’re hanging the mirror on and ensure that its size and weight fit the wall.
A lightweight mirror is best for walls that are thin and small, such as those found in bathrooms and bedrooms. So make sure to pay attention to the weight-bearing capabilities of the wall you want to hang your mirror on.
You can visit furniture stores in your area to look at different mirror types. You can look for great deals on furniture online or you can have a mirror custom-made based on the style, material, and weight that you want.
Select the Right Adhesive
Selecting the right type of adhesive to hang a mirror without nails is crucial. Start by finding a non-toxic, paintable adhesive that is capable of holding the weight of the mirror.
Avoid gripping adhesives, foam adhesives, or those with volatile organic compounds. Choose an adhesive that is waterproof, mildew-resistant, and flexible.
Test the Bond
Before using the adhesive, test it by pressing a corner of the tape onto the wall and pressing the corner of the mirror onto the tape. After a few minutes, try to pull the mirror off the wall. If the mirror does not come off, that means the tape is strong enough to hold the weight of the mirror.
You may choose to repeat this test with other areas of the mirror to be sure it will be secure. Once you have tested the bond, you can be sure that your mirror should stay in place without coming loose.
Clean the Wall and Mirror
Before you start your mirror hanging, it is important to prepare the area. First, clean the wall and mirror.
Remove any dust, dirt, and oils that may come from fingerprints. This will keep the mirror and wall clean and make sure that the mirror adheres and stays in place. Wipe down both the wall and mirror with a damp cloth and be sure to let it dry completely.
Measure and Mark
You’ll have to measure the wall area where you plan on hanging a mirror at least four times, with one of the measurements being the width of the mirror itself. When measuring, be sure to use a level to ensure the mirror will hang straight.
If necessary, you can also use a pencil to mark the wall with the measured dimensions. This will help you to align the adhesive strips when placing them on the wall.
Apply Adhesive
Apply a thin layer of the adhesive on both the wall and the mirror’s back surface. Wait for a few minutes until they become tacky, and then press the mirror firmly against the wall. If the construction adhesive requires hot curing, use a blow dryer to warm the surface for a few minutes.
After allowing the knocked surfaces to dry thoroughly, you can add some final touches. You can add some framed artwork with wall putty or apply a beveled edge to finish the project.
Press Firmly
Once you have applied to adhesive, press firmly to ensure that the two sides are securely fastened. Be sure to keep a steady pressure to ensure the bond is as strong and effective as possible. If done correctly the mirror will stay in place for an extended period.
Additionally, make sure to cover any exposed gaps with contact paper. This will improve the seal, prevent damage, and increase the life of the adhesive.
Reposition Carefully (If Necessary)
If you find that the mirror needs to be repositioned, through careful maneuvering, gently peel the strip off. Carefully slide the mirror up or down the wall and press it on the chosen surface again. Make sure the adhesive is firmly sticking on the wall and make sure that the mirror has enough room to rest on the adhesive strips.
Wait for Curing
After the mirror has been firmly pressed against the adhesive, it’s time to wait for it to cure. This will usually take several hours, and you’ll know it’s cured when you can touch the wall around the adhesive without it feeling wet or sticky. Be sure to limit any disturbance around the mirror while it is setting to make sure the adhesive creates a proper seal.
After curing, the mirror should be firmly adhered to the wall. If for any reason the mirror feels loose after curing, you may add more adhesive for additional security. Make sure to use as little adhesive as possible so as not to damage the wall or the mirror itself.
Follow Maintenance Instructions
Following maintenance instructions is a must to ensure the longevity of the mirror. Clean the mirror every few months using a cloth and a cleaning liquid. Avoid abrasive materials or anything containing alcohol as these can cause damage.
You should also check the tightness of the nut/bolt every couple of months. Doing so will prevent shifting so you can enjoy your mirror in the years to come.
Follow Our Guide on How to Hang a Mirror Without Nails
Hanging a mirror without nails is a great way to add a unique, eye-catching appeal to your walls. It gives you a chance to be creative with the display and is easier and less messy than using nails.
So why not follow our guide on how to hang a mirror without nails now? Try it out and see how it changes the look of your space!
Did you find this article helpful? If so, check out the rest of our site for more.


